Keeping track of several WordPress installations can soon become difficult if you oversee several websites. Whether you oversee several versions of a product site, run a blog network, or manage client sites, the good news is WordPress provides a built-in tool to streamline everything. From a single dashboard, we will walk you through how to set up Multisite WordPress and oversee your whole site network in this book.
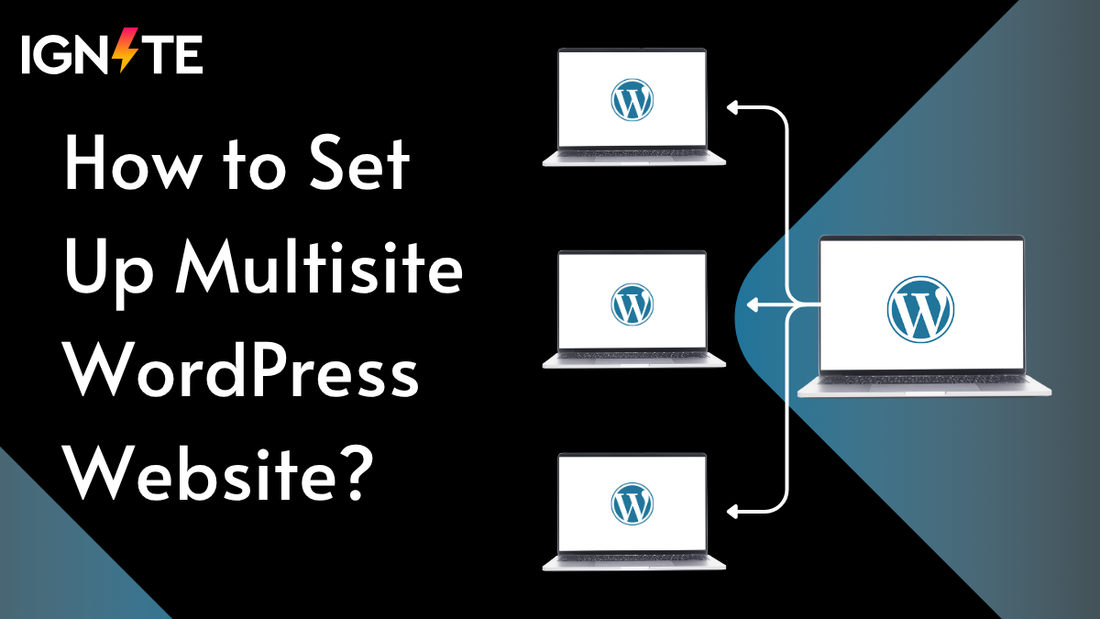
One powerful tool allowing you to create and run a network of several websites from one WordPress setup is WordPress Multisite installation. This saves time and maintains consistency by allowing you to update plugins, themes, and PHP core for every one of your sites all at once. For companies, colleges, or agencies needing to keep several websites without juggling different logins or databases, it's perfect.
Using WordPress multisite domain mapping ,which lets every site on your network have a unique domain , you can even go farther. You might thus substitute something like clientsite.com rather than subsite.example.com. Indeed, it also supports WordPress multisite with different domains , so you may completely customise the identity of every site in your network.
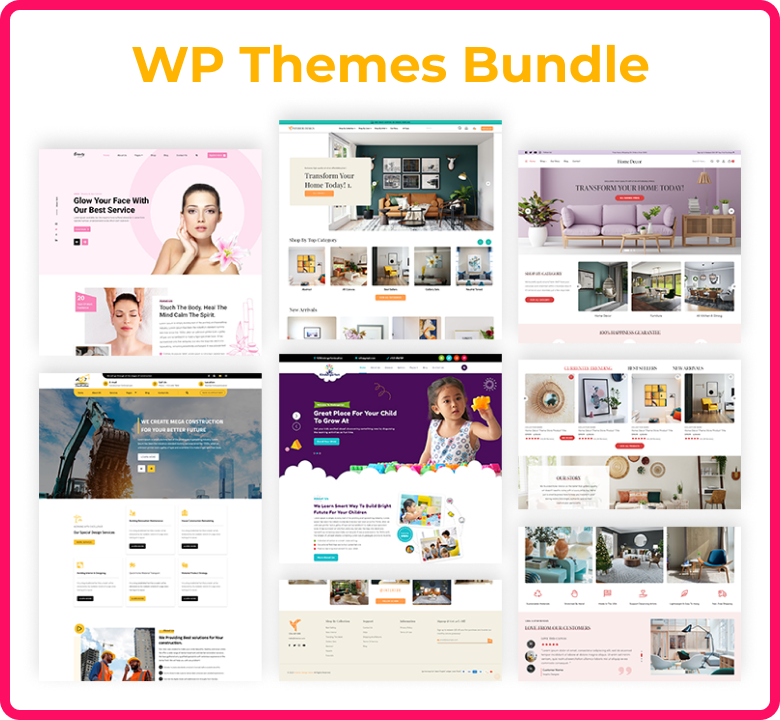
Launching several websites is a major chore, and at ThemeIgnite we understand that performance, scalability, and simple customising are critical. Our themes are therefore designed to run seamlessly across WordPress Multisite networks; hence, once everything is set up, you can concentrate more on the content and less on the technical aspects.
How to Set Up WordPress Multisite?

Setting up a WordPress Multisite network might sound technical at first, but once you understand the steps, it becomes pretty manageable. Whether you want to create a network of blogs, manage multiple client websites, or run a central hub for an organization, the WordPress Multisite installation process gives you the flexibility to handle it all under one dashboard.
To start, you’ll need a fresh or existing WordPress site with admin access. Make sure you backup your WordPress website before making any changes. Then, access your wp-config.php file and add the following line above the “/* That’s all, stop editing! */” comment:
define('WP_ALLOW_MULTISITE', true);
After saving the file and refreshing your WordPress dashboard, a new option called “Network Setup” will appear under Tools. Here, you can choose between subdomains (like site1.yourdomain.com) or subdirectories (like yourdomain.com/site1) based on your setup needs.
Once the network is configured, WordPress will guide you to add a few more lines in your wp-config.php and .htaccess files. After that’s done, you’ll log in again and see a new “My Sites” section at the top of your dashboard, allowing you to create and manage multiple websites.
Now, if you plan to use WordPress multisite with different domains (like site1.com, site2.com), you'll need to set up WordPress multisite domain mapping. You can do this using a plugin like “Mercator” or via server-side configuration with proper DNS and domain settings. It might take a bit of technical know-how, but it's very doable with good documentation and support.
Activate Multisite for New WordPress Websites
Before you can begin building a WordPress Multisite network, you first need to activate the feature manually. WordPress has multisite functionality built-in, but it isn’t enabled by default. The good news? It just takes a small tweak to your website’s configuration file.
Here’s how to get started:
1. Access Your wp-config.php File:
Using FTP or your web hosting control panel (like cPanel or File Manager), locate your WordPress site’s root directory and open the wp-config.php file.
2. Add the Multisite Enabling Code:
Just before the line that says /* That's all, stop editing! Happy publishing. */, paste this code:
define( 'WP_ALLOW_MULTISITE', true );
Save the file once you’ve added it.
3. Refresh WordPress Dashboard:
Now, go back to your WordPress admin dashboard and reload the page. Under Tools, you’ll now see a new option called Network Setup. This is where the actual WordPress multisite installation begins.
Keep in mind: At this point, your site is still operating as a single WordPress installation. Activating multisite only unlocks the feature , you haven’t created a network yet. But you’re ready to move on to the next step: configuring the network settings and choosing how you want your sites to appear either as subdomains or subdirectories.
Up next, we’ll walk through setting up the network itself and the differences between domain structures. Whether you're planning to use WordPress multisite domain mapping or manage WordPress multisite with different domains, you’re on the right track!
Manually Activate Multisite for New or Existing WordPress Websites
Whether you’re starting from scratch or working on an existing site, WordPress makes it possible to enable Multisite manually. While it requires a bit of code editing, it’s a one-time setup and not too complex if you follow each step carefully.
Start by opening your site’s wp-config.php file. You can do this using an FTP client or through the file manager provided by your hosting provider. Just above the line that says /* That's all, stop editing! Happy blogging. */, add this line of code:
define( 'WP_ALLOW_MULTISITE', true );
After saving the file, head back to your WordPress dashboard. Under Tools, you’ll now see a new option called Network Setup. This is where you’ll configure the base of your multisite network decide whether you want to use subdomains (like site1.example.com) or subdirectories (like example.com/site1). WordPress will then provide a new set of code to add into both your wp-config.php and .htaccess files. Follow these instructions exactly.
Once done, log out and log back in to activate the network. Congratulations! You’ve now enabled Multisite on your WordPress site.
How to Manage Your WordPress Websites Using Multisite?
Once you've set up Multisite WordPress successfully, the real work begins managing your network. Luckily, WordPress Multisite makes it surprisingly efficient to handle multiple websites from one central dashboard. Here’s how you can manage your sites, themes, plugins, and users step by step.
Step #1: Add New WordPress Websites to Your Network
After activating Multisite, you’ll notice a new section in your admin dashboard labeled “My Sites” or “Network Admin.” This is your control hub.
To add a new site:
- Go to My Sites > Network Admin > Sites.
- Click “Add New.”
- Fill in the site’s address (subdomain or subdirectory), title, and admin email.
- Click “Add Site.”
That’s it you’ve added a new site to your network. Whether you're working with WordPress Multisite different domains or just managing sub-sites under one URL, all your websites are now conveniently centralized.
Step #2: Manage Themes and Plugins for Your Network
Multisite networks give you complete control over what themes and plugins are available to each website.
To install and manage themes:
- Go to Network Admin > Themes.
- Install a theme just once, then click “Network Enable” to make it available across all sites.
For plugins:
- Go to Network Admin > Plugins.
- Install and Network Activate a plugin to apply it to all sites, or leave it deactivated so individual site admins can choose to activate it if needed.
This centralized approach saves a ton of time no more repetitive plugin installs for every single website.
Step #3: Manage Your Sites’ Users and Contributors
You can assign roles and permissions to each site independently, which is super helpful when you're working with teams.
To add or manage users:
- Go to Network Admin > Users.
- Click “Add New” to create a user, or assign existing users to specific sites.
- You can customize roles like Administrator, Editor, Contributor, and more , all per site.
This layered permission model keeps your network secure and organized, especially when working on client projects or community platforms.
Conclusion
Setting up a Multisite WordPress network isn’t just about running multiple websites , it’s about managing them efficiently under one roof. Whether you're launching blogs for different regions, managing client sites, or creating a network of community websites, Multisite can save you time and effort. Once you’ve configured the setup, the day-to-day management becomes smoother and centralized.
At ThemeIgnite, we’re all about helping you create scalable WordPress solutions. Whether you’re managing one site or a hundred, our themes are built to support your growth without compromising performance or design. Explore our collection of professional WordPress themes and find the perfect look for your Multisite network.