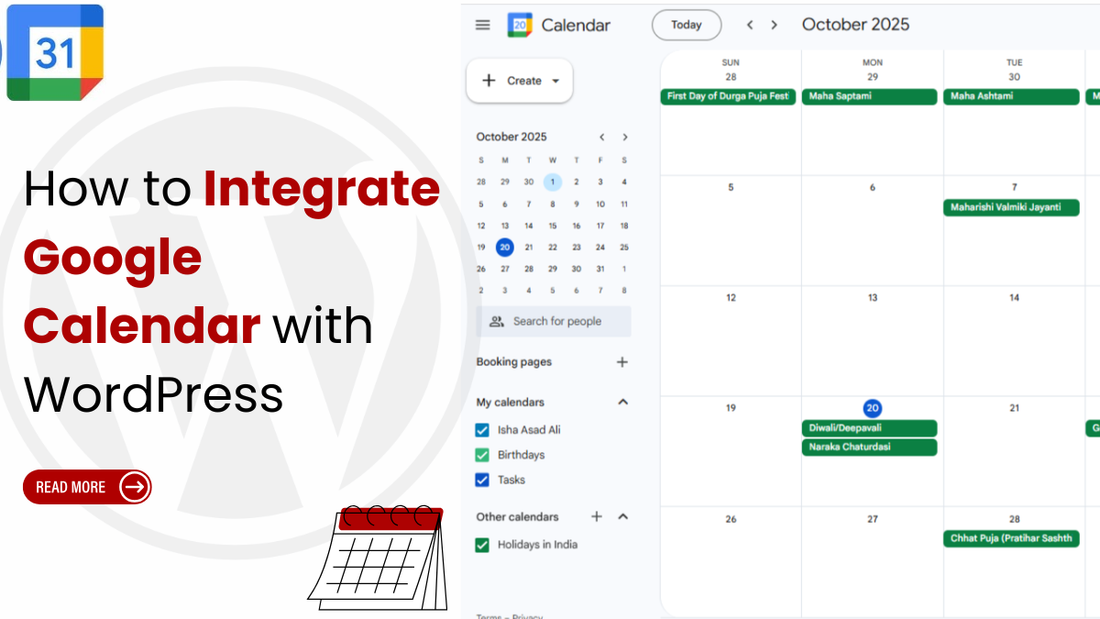
Integrating Google Calendar with WordPress is an effective way to keep your website visitors informed about your latest events, meetings, or appointments without the need for manual updates. This integration ensures that any changes made in your Google Calendar are automatically reflected on your site, saving time and maintaining consistency across platforms, especially when using premium WordPress themes for a professional and seamless display.
It’s beneficial for event scheduling, online bookings, team meetings, classes, and webinars, enabling visitors to view upcoming activities or register for events effortlessly. Whether you manage a business, educational institution, or community organization, showcasing your calendar directly on your website improves communication and user engagement.
This guide walks you through the simple steps to integrate Google Calendar with your WordPress site efficiently.
Why Integrate Google Calendar with WordPress?
Integrating Google Calendar with your WordPress website brings multiple advantages, focusing on efficiency, real-time synchronization, and an enhanced user experience for managing events, bookings, and availability, all while making your website mobile-friendly and accessible across devices.
Scheduling and Booking Functionality: Many WordPress booking or appointment plugins integrate with Google Calendar to offer two-way synchronization. This allows customers to book appointments directly on your site, with the system automatically checking your Google Calendar for conflicts and blocking unavailable time slots. New bookings are instantly added to your calendar for seamless scheduling.
Booking Automation: For businesses using appointment or booking plugins, integration ensures complete automation. When a customer books a time slot, it’s immediately created as an event in your Google Calendar, and that slot is marked unavailable on your website to prevent double bookings.
Improved User Experience and Engagement: Visitors can easily view upcoming events, classes, or webinars and interact with the embedded calendar to learn more or add events to their own calendar. This keeps users engaged and on your site longer.
Automatic, Real-Time Updates: You only need to manage your schedule in Google Calendar. Any updates adding, editing, or deleting events are automatically reflected on your WordPress site, eliminating manual data entry and reducing errors.
Familiarity and Accessibility: Since Google Calendar is cloud-based and works seamlessly across desktop and mobile devices, integrating it ensures a reliable, user-friendly experience for both you and your visitors.
Prerequisites Before You Integrate Google Calendar with WordPress
Before you integrate Google Calendar with WordPress, it’s important to have a few things prepared so the setup goes smoothly and works correctly. Here’s a complete list of prerequisites you should check off first:
- A Google Calendar: You must have a working Google account to create and manage the calendar. Because the calendar you’ll integrate must be tied to a Google account.
- WordPress Setup: Make sure you have a working WordPress installation, either self-hosted or on WordPress.com. As you’ll need admin access to install plugins or add custom code.
- Access to WordPress Admin Dashboard: You’ll need admin-level access to install and activate plugins and add widgets, shortcodes, or custom code. The reason behind this is that the integration typically requires configuration within WordPress settings.
- A Google API Key or Client ID: You may need to create a project in the Google Cloud Console and generate a unique API key specifically for the Google Calendar API. This key is what allows the WordPress plugin to communicate with Google's services.
Step-by-Step Guide to Integrate Google Calendar with WordPress
Here’s a step-by-step guide to integrate Google Calendar with WordPress, using both the manual embed method and a plugin method so you can choose the one that fits your needs best.
Method 1: Install a Google Calendar Plugin
Integrating Google Calendar with your WordPress site using a plugin is a common and effective way to display your events and keep your audience updated automatically. The process typically involves installing a plugin, connecting it to Google Calendar, and then displaying the calendar on your site using a shortcode or block.
Step 1: Choose a Google Calendar Plugin

Several WordPress plugins allow Google Calendar integration. Here are the most popular and reliable options:
Simple Calendar Google Calendar Plugin: The Simple Calendar Plugin is a popular WordPress plugin designed to easily display events from your Google Calendar on your WordPress website.
Event Calendar WD: Event Calendar WD is a WordPress plugin that allows you to create and manage events and display them on calendars. It supports both simple one-time events and recurring events.
WP Simple Booking Calendar: The WP Simple Booking Calendar plugin is a popular and straightforward WordPress tool primarily used to display the availability of a resource, making it an excellent choice for vacation rentals, rooms, equipment, or any item that needs a clear daily availability schedule.
Step 2: Install and Activate the Plugin

- Log in to your WordPress dashboard.
- Navigate to Plugins and choose the Add New option.
- In the search bar, type a plugin name like "Simple Calendar" (or another reputable Google Calendar plugin).
- Click Install Now next to the desired plugin.
- Click Activate once the installation is complete.
Step 3: Prepare Your Google Calendar
For the plugin to access and display your events, your Google Calendar must be publicly accessible, and you need to get its Calendar ID.
- Go to Google Calendar and log in to your Google account.
- In the left sidebar, find the calendar you wish to share.
- Hover over the calendar name, click the three dots (Options for calendar), and select Settings and sharing.
- Under Access permissions for events, ensure the box for "Make available to public" is checked. A warning will appear; click OK to confirm.
- Scroll down to the "Integrate calendar" section.
- Find the Calendar ID and copy it. You'll need this later.
Step 4: Get a Google Calendar API Key

Many plugins require a Google API key to communicate with the Google Calendar service, which provides stability and avoids rate limiting.
- Go to the Google Cloud Console (Google Developers Console) and sign in.
- Create a new project (or select an existing one).
- Go to the library and search for "Google Calendar API." Click on it and then click Enable.
- Go to Credentials (in the left-hand menu) and click Create Credentials $\rightarrow$ API key.
- The API key will be generated. Copy this key and keep it secure. You may also want to restrict the key to your website's domain for security.
Step 5: Create and Link Your WordPress Calendar

Now you will create a new calendar instance in WordPress and link it to your Google Calendar.
- In your WordPress dashboard, go to the plugin's main section (e.g., Calendar $\rightarrow$ Add New).
- Give your new WordPress calendar a title.
- Scroll down to the Calendar Settings or Event Source section.
- Select Google Calendar as the event source.
- Paste the Calendar ID you copied from your Google Calendar settings (from Step 2) into the designated field.
- Customise the appearance, date formats, time zone, and views (month, list, week, etc.) using the plugin's options.
- Publish or save the new calendar. The plugin should now fetch events from your Google Calendar.
Step 6: Display the Calendar on Your Website

- After saving, the plugin will typically provide a shortcode for the calendar you created.
- Copy the shortcode.
- Navigate to the page or post where you want to display the calendar.
- In the WordPress Block Editor, add a Shortcode Block or Text/HTML Block.
- Paste the shortcode into the block.
- Save or publish the page/post.
Your Google Calendar events should now be visible on your WordPress site, automatically syncing from your Google account.
Step 7: Customise Calendar Display
You can style or modify how events appear:
- Go to Calendar → Settings → Display.
- Adjust: Number of events shown, date and time formats, colours, styles, and link behaviour
- For deeper styling, you can add custom CSS under:
- Appearance → Customize → Additional CSS
Method 2: Manual Method to Integrate Google Calendar with WordPress
The most common and truly "manual" method for integrating Google Calendar with WordPress without using a dedicated plugin is by using the Google Calendar Embed Code (iframe) and placing it into a Custom HTML block or the Code Editor of your WordPress page or post.
Here’s how you can do it:
Step 1: Get the Google Calendar Embed Code
- Go to Google Calendar and ensure you are logged in to the Google account that owns the calendar you want to share. On the left sidebar, under the "My calendars" section, find the calendar you wish to embed.
- Click the three dots next to the calendar name and select "Settings and sharing."
- In the settings for that calendar, scroll down to the "Access permissions for events" section.
- Make sure the box next to "Make available to public" is checked. If it's not, check it. A warning pop-up will appear; click "OK" or "Yes." If you do not make it public, the embedded calendar will not be visible to your website visitors.
- Scroll down to the "Integrate calendar" section.
- You will see a large box labelled "Embed code" containing an <iframe src="..."> block of HTML. Copy the entire code in this box.
- Above the embed code, you'll see a link that says "Customise." Click this link to open a new window with customisation options.
- Here you can adjust the default title, the default view, the width and height colour scheme, the language, and other elements.
- As you make changes, the embed code at the top of the page will automatically update. Copy the new, customised code.
Step 2: Embed the Code in WordPress

Now you will take the copied iframe code and paste it into the appropriate location on your WordPress site. Here we are using the Gutenberg Block Editor for this method:
- Go to your WordPress Dashboard and navigate to the page or post where you want the calendar to appear.
- Click the "Add block" icon. Search for "Custom HTML" and click to add the block.
- Paste the full Google Calendar <iframe src="..."> code you copied earlier into the Custom HTML block's editor field.
- You can click the "Preview" tab within the block editor to see how the calendar will look.
- Save or publish/update your page or post.
- View the live page to ensure the calendar is displaying correctly.
Tips for a Smooth Integration
Integrating Google Calendar with your WordPress site can be done smoothly with the right approach. Here are the essential tips for a successful and user-friendly integration:
- Make the Calendar Public: The calendar you want to embed must be set to public in your Google Calendar settings under "Access permissions for events." If it's not public, your website visitors will see a 404 error or a blank space.
- Focus on Mobile Responsiveness: The default Google Calendar embed isn’t always optimized for different screen sizes, which can cause display issues on mobile devices and tablets. To address this, choose a plugin designed for ensuring website appearance responsive themes for all devices as it will automatically adjust layouts and handle most of the responsiveness work for you.
- Use cache clearing after adding new events: If your calendar doesn’t update quickly, clear your site and plugin caches. If using a caching plugin, exclude your calendar page from caching to allow real-time updates.
- Prioritise Security and Privacy: Never share private API keys publicly or in your code. Avoid making private calendars public; use a separate “public display” calendar. Regularly review your Google Cloud Console to see which apps or sites are using your API key.
Troubleshooting Common Issues
Integrating Google Calendar with WordPress, often done using a plugin or a manual embed, can sometimes lead to issues. Here are some common problems and their troubleshooting solutions:
- Calendar/Events Not Displaying
Cause: The calendar you are trying to display is not set to public.
Solution: Go to Google Calendar settings for that specific calendar, find Access permissions for events, and ensure the "Make available to public" checkbox is ticked.
- The plugin isn’t updating events or getting outdated.
Cause: API permissions might cause this trouble. If you're using a booking/two-way sync plugin, the Google service account might lack write/edit permissions.
Solution: Verifying service account permissions is the way you can solve this issue. Go to your Google Calendar settings and check the sharing permissions for the service account email. It may need to be set to "Make changes to events" or similar, not just "See all event details."
- Style Not Matching
Cause: Your active theme or another plugin's CSS/JavaScript is conflicting with the calendar plugin's styling.
Solution: Temporarily switch to one of the affordable WordPress themes (such as Twenty Twenty-Four) and deactivate all other plugins to check if the issue persists. If the problem disappears, you’ve likely found a conflict identify the specific theme or plugin causing it and reach out to its developer for a proper fix.


